


I remember when cake pops were super popular! They were everywhere and everyone made them. Starbucks even still sells them. But have you heard of cakesicles? It’s pretty much cake pop’s cousin…in popsicle form! I probably watched a dozen videos on YouTube on how to make them and afterward, I was determined to make these.
If you’ve made cake pops before, then the process is pretty similar…using a cake and frosting mixture to make the cake part of this treat. For the popsicle shape, I used a mini popsicle silicone mold from Amazon. I found that the mini mold is a perfect size since this is a pretty sweet treat.
There are two methods to make cakesicles:
- The “Dip in the Melted Chocolate Method“: this method seemed to be quicker since you pack the cake and frosting mixture into the mold and then just dip into the melted chocolate. However, the end results were not as clean or pretty as I would like. You really have to make sure you let all the excess melted chocolate drip off or else you end up with a “melted” looking cakesicle.
- The “Put Melted Chocolate in the Mold First Method“: (this method is pretty similar to our Magical Hot Chocolate Bombs, Kalu does a great job instructing with in-depth details) This is the method I used for this post. This process did take a little more time and requires more patience however the end results were so satisfying. Unlike the first method, you put melted chocolate in the mold first and swirl all that melted chocolate inside the mold, making sure to cover all the surfaces. Using an offset spatula, clean off the excess melted chocolate outside of the mold. Place in the fridge/freezer and let set. Once firm, do a 2nd layer of melted chocolate. Let set in the fridge/freezer again. Once set, we fill the mold with the cake and frosting mixture. DO NOT fill the cake mold all the way to the top with the cake mixture, make sure there is a little space left for more melted chocolate to settle to create the back covering of the popsicle.
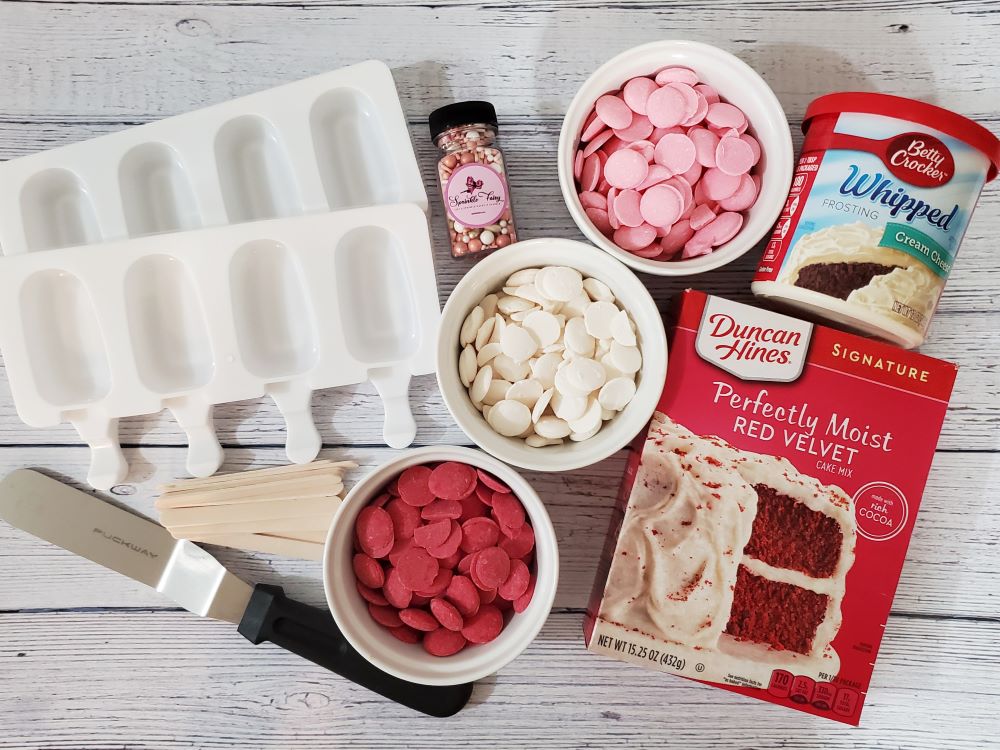
Cakesicle Ingredients:
- Popsicle mold
- Popsicle sticks (it came with the popsicle mold I purchased)
- offset spatula
- Your favorite cake (homemade or from the box)
- Cake frosting
- Chocolate melts- pink and red
- White Chocolate (to mix in with the colored chocolate melts for a lighter shade)
- Sprinkles (optional – but just add it anyways, it makes everything better!)
Cakesicle Instructions:
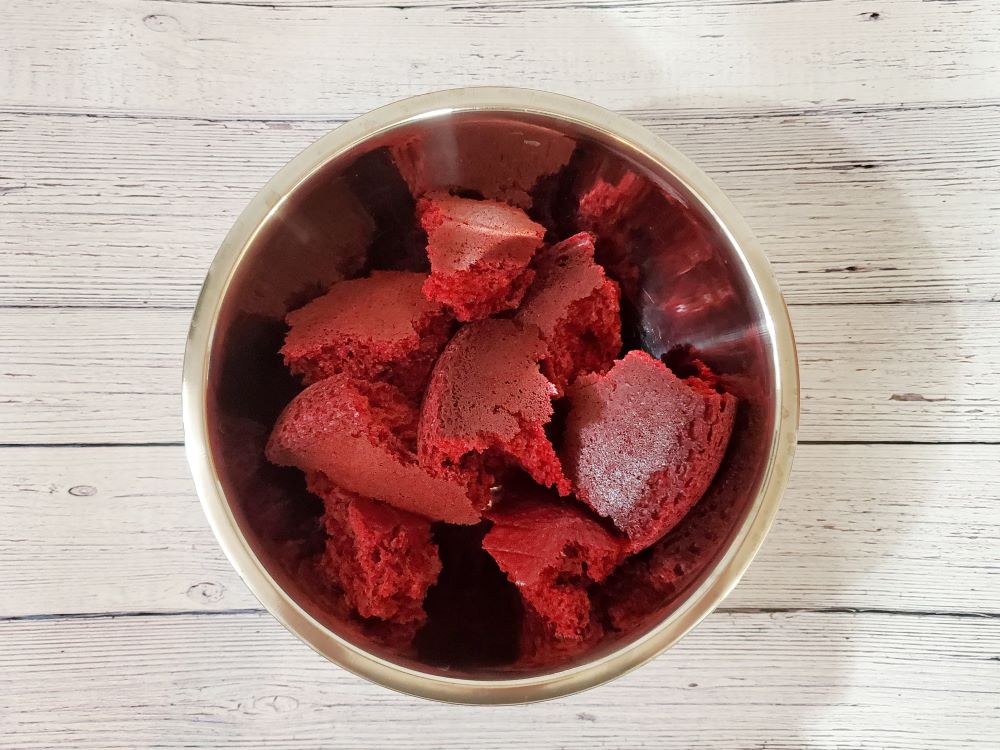
- First, bake your cake – your favorite cake. I used a boxed cake and baked 2 round 8″ cake pan. For this specific post, I used only one of the 8″ cakes. Once baked, let cool to room temperature.
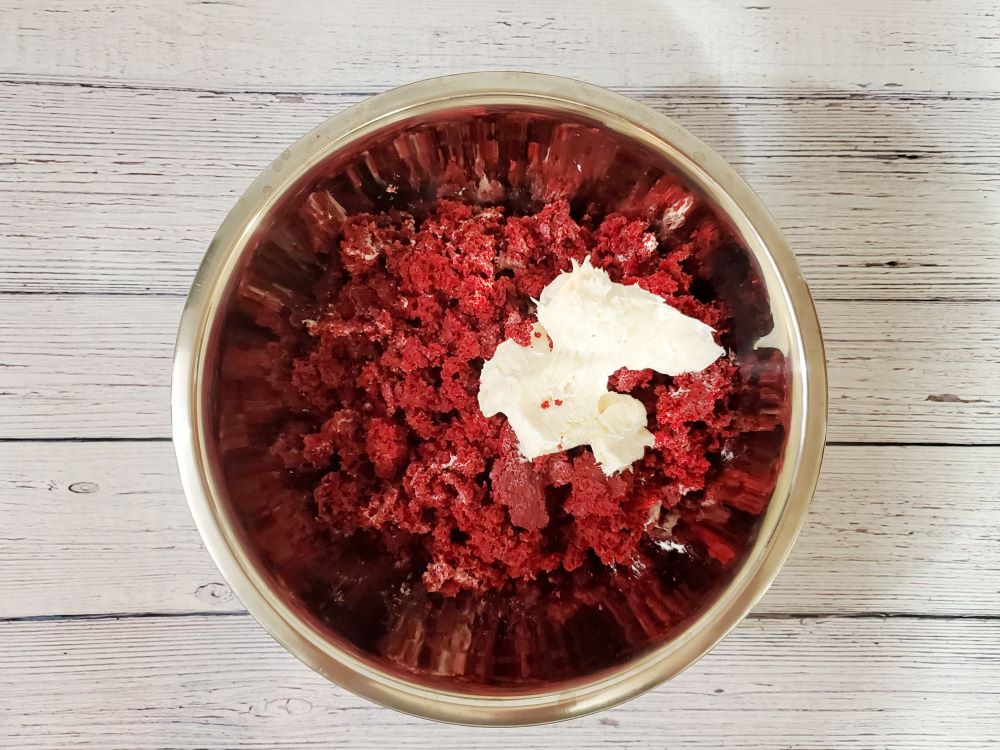
- Once the cake is cooled, break apart in a large bowl and scoop about 1/3 cup of frosting with the cake. With clean hands, mix the cake and frosting well. The mixture will be dense. Add more frosting if needed. (I ended up using only 2/3 cups of frosting).
- Next, get your chocolate and popsicle molds ready. I used Wilton’s chocolate and melted it according to the instructions on the back of the package.
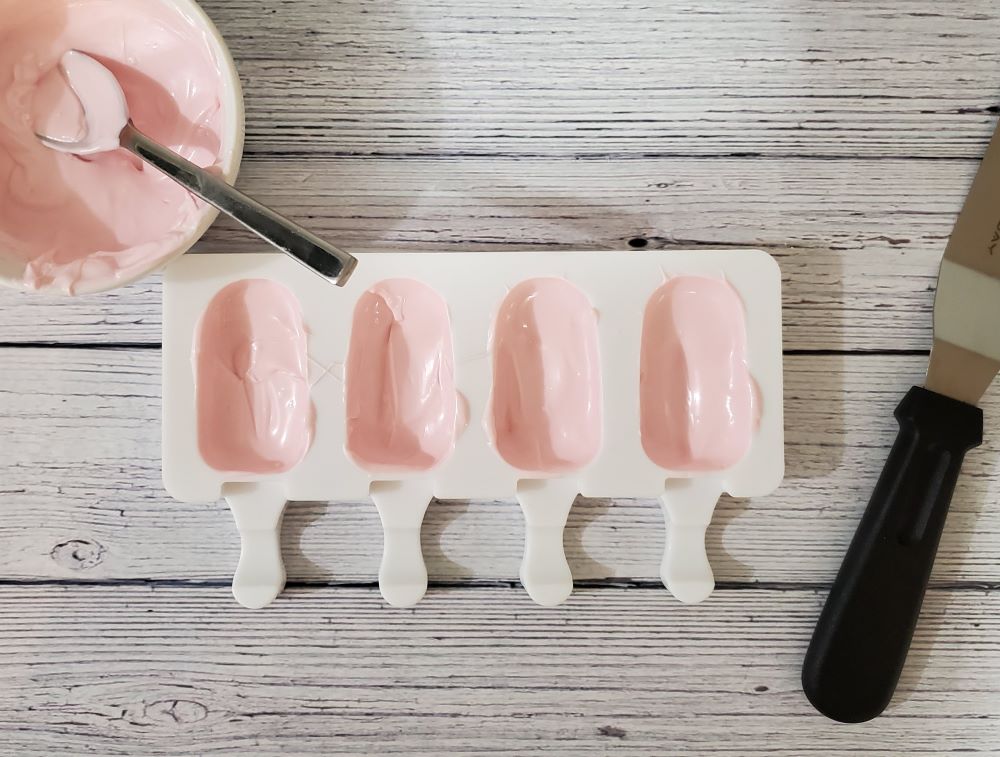
- Make sure the chocolate is pretty runny and scoop a spoonful of the melted chocolate into each mold. Swirl the chocolate around to make sure the entire mold is covered. When the mold is covered, flip the mold onto a silicone mat and let all the excess chocolate drip out. This will ensure you don’t have super thick layers of chocolate settled in certain spots. Once most of the excess chocolate has dripped out, use the offset spatula to slide clean the melted chocolate off the top of the mold.
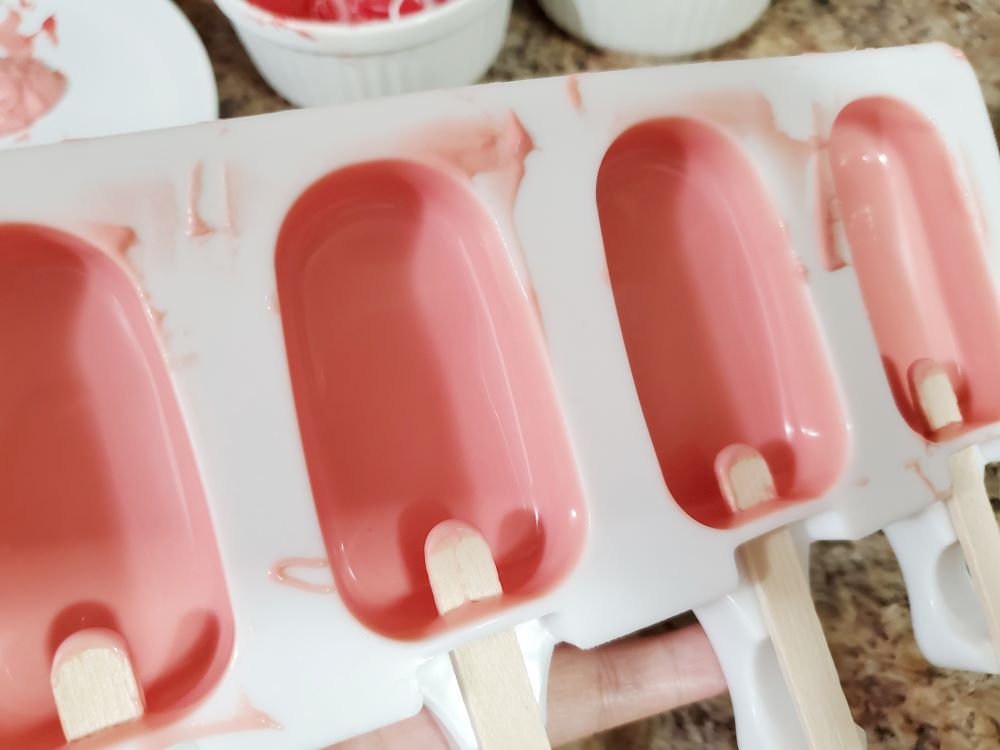
- Add your popsicle sticks in now. If you’re using the same mold, the slit is below the mold. Place the sticks in about only about 1/3 of the way. If you don’t add them now, once the chocolate is firm…and you try to add it later, the chocolate will crack 🙁
- Place the popsicle mold in the fridge. Let the chocolate set and firm up for about 5-10 mins.
- Once firm, do a 2nd layer of chocolate. Swirl, let excess melted chocolate drip, PUSH the popsicle sticks all the way in, clean, and set in fridge to firm up. **NOTE: since the bottom 1st layer is cold, the 2nd layer will firm up quicker this round. Work quickly!
- Once the 2nd layer is firm, fill the mold with the cake/frosting mixture! The popsicle sticks will look like they’re in the way. They kind of are, but just work around them. Grab small amounts of the cake/frosting mixture and start filling in the molds. **NOTE: DO NOT fill the cake mold all the way to the top with the cake mixture, make sure there is a little space left for more melted chocolate to settle to create the back covering of the popsicle.
- Let the cakesicles sit in the freezer for about 5 minutes. I wanted the cake to firm up a bit before adding the last couple of layers of melted chocolate.
- Once the cake/frosting mixture is firm, we will add two more layers of melted chocolate. Again, the chocolate will firm up super quick since the cake is really cold. Work quickly. Once both layers have been added let firm up in the fridge.
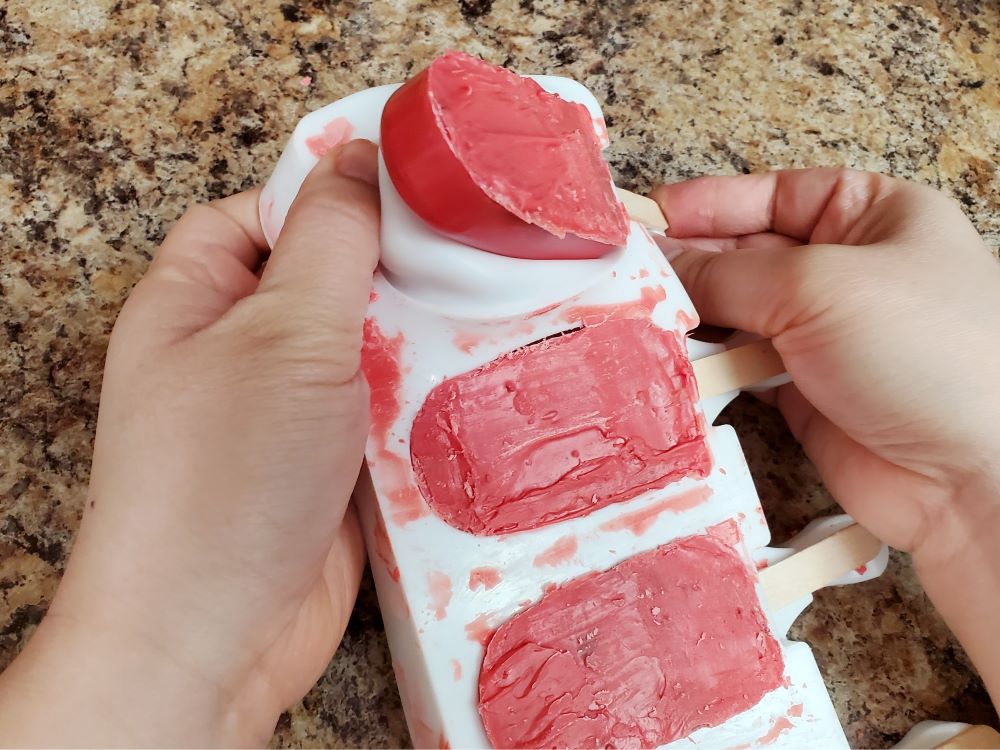
- Once the chocolate has set, it is time to unmold the cakesicles. Carefully push the cakesicle out and be mindful of the popsicle stick as well. If you have excess chocolate on the back of the cakesicles, you can carefully shave it off with a sharp knife. **TIP: (if you happen to accidentally crack or some pieces of the chocolate broke off, you can easily add more chocolate to fix those areas. just use the extra popsicle sticks, dip them in the chocolate and patch any small mistakes)
- Once done, you have the cutest little sweet treats! Decorate as you please.


16 Comments
Gabriela Herrera
February 9, 2021 at 11:36 amThese look so fabulous and aesthetically pleasing. Thank you so much and what a money saver as well.
ourlittlenook
February 12, 2021 at 12:51 amThank you!!!
Jennifer
February 9, 2021 at 4:17 amThese are sooo CUTE! Too cute to eat!!
Arica Aspenson
February 9, 2021 at 12:00 amThese are absolutely adorable and so much easier to make than I thought. What a great idea!
Francy
February 8, 2021 at 8:42 pmThey look so elegant and great for every age. Great S. Valentine dessert idea
Fabiana
February 8, 2021 at 5:47 pmNeedful Content! Keep creating content like this. Tons of love for you.
Beth Sachs
February 8, 2021 at 3:55 pmThese cakesicles are sooo cute! Perfect for my kids on Valentine’s Day!
ourlittlenook
February 8, 2021 at 4:08 pmThank you, Beth.
Jessica Formicola
February 8, 2021 at 3:55 pmOh my goodness, these are way too cute! I’ve got to get my hands on one of those molds!
ourlittlenook
February 8, 2021 at 4:08 pmThanks!
Maria
February 8, 2021 at 3:49 pmThese look so adorable! I bet they taste good as well!
ourlittlenook
February 8, 2021 at 4:07 pmIf you love sweets these will be perfect.
Jennifer Allen
February 8, 2021 at 3:43 pmAren’t these just about the cutest things ever! You’re so creative but I’m going to get the mom win when I make these adorable treats for my kids! Thanks for the recipe and idea!
ourlittlenook
February 8, 2021 at 4:07 pmThank you! We hope your family will enjoy these adorable cakesicles.
Helen
February 8, 2021 at 3:40 pmThose are so cute! I love the way you’ve decorated them.
ourlittlenook
February 8, 2021 at 4:06 pmThanks, Helen!