
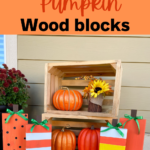
Who here has been doing house projects since the crazy pandemic started? Since March, my husband has been working from home and has taken on a lot of home projects that left us with extra wood in the garage. I decided to take some of the extra wood and make these adorable DIY fall wood pumpkin blocks that I’ve been seeing all over Pinterest. The Pumpkin Blocks were super easy to make and are so cute on my front porch.
Ok, I need to be honest when I say this project was easy, I meant my husband helped cut and sand the wood blocks. I just painted them. But, I do believe when you purchase wood from your local hardware stores they can help cut your wood blocks. Sanding takes a little arm work, but it’s doable without an electric sander.
I really hope you give these DIY fall wood pumpkin blocks a try and make them your own.
How to make fall wood pumpkin blocks:
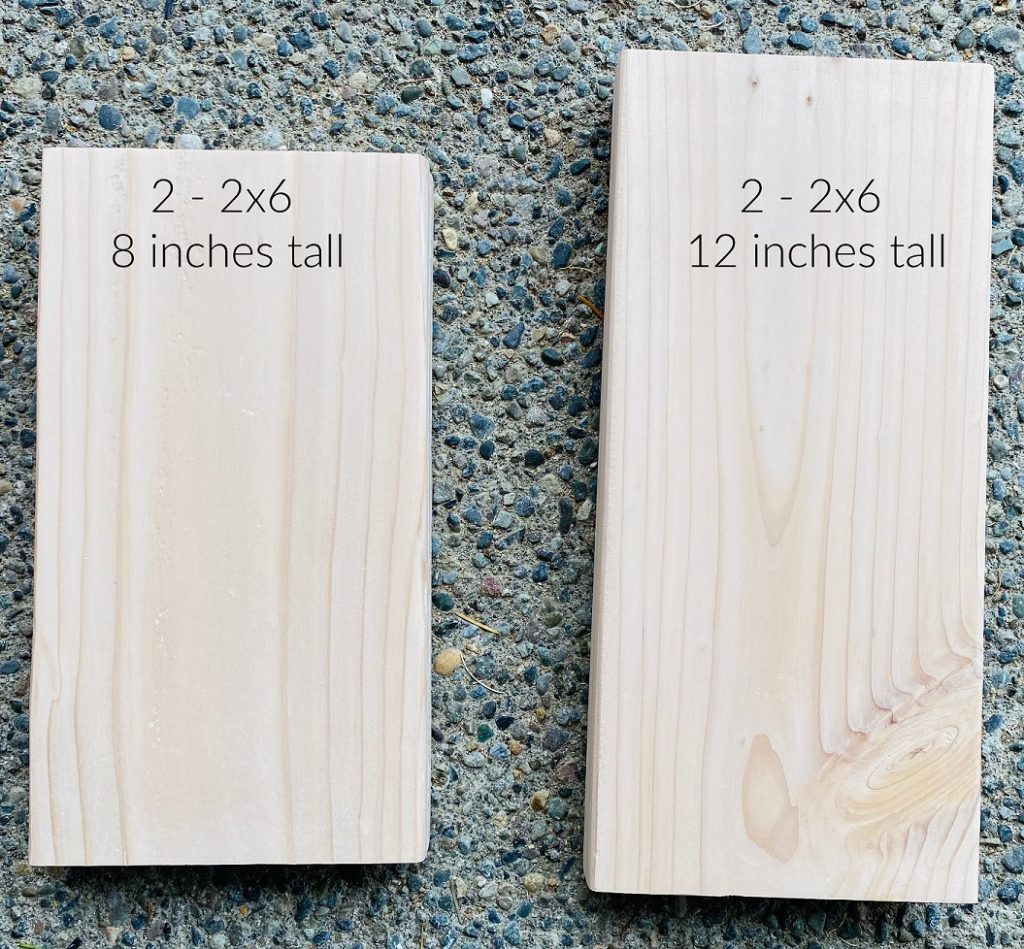
- I had my husband cut a long piece of 2×6 into four pieces. I had 2 8″ inches and 2 12″ inches. You can definitely use different measurements and have three different heights, or even four. The possibilities are endless.
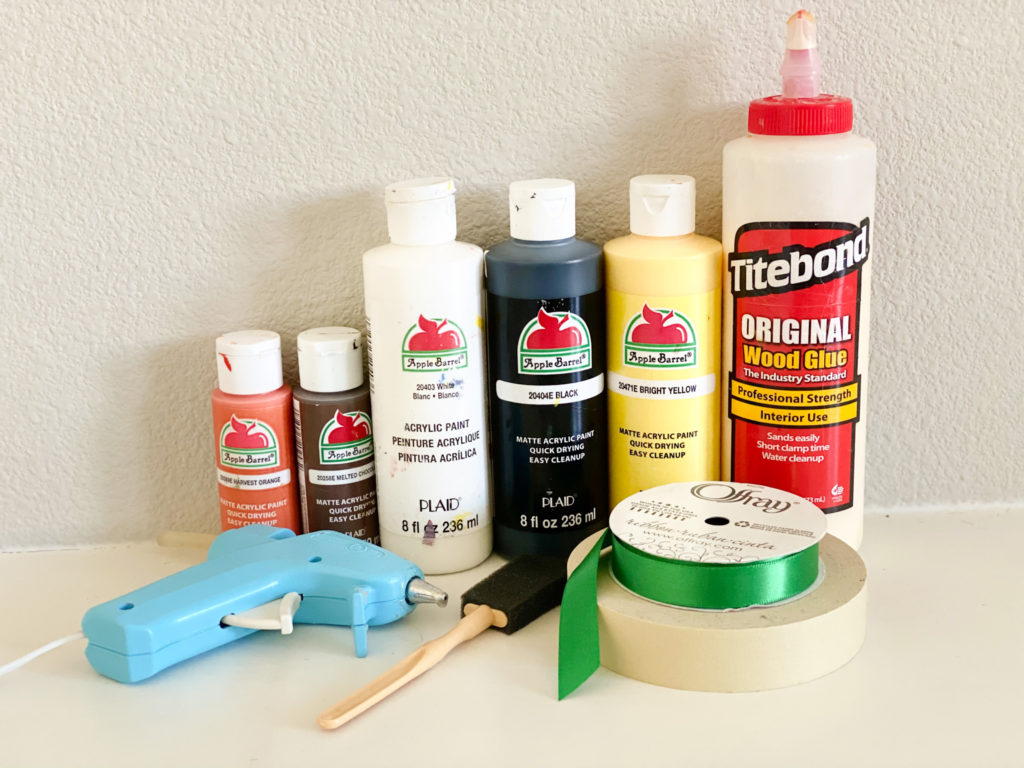
- Paint: bright yellow, black, white, harvest orange, and melted chocolate.
- Wood glue, glue gun, tape, a sponge brush, and green ribbons. You definitely can use any colors you want for this project.
- Wood glue is optional. Like I mentioned before, we did a lot of different projects around the house and I had it on hand. A glue gun will work.
- The green ribbon is also optional. You can definitely use twine or faux leaf to fix off your pumpkin wood blocks
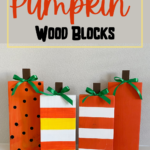
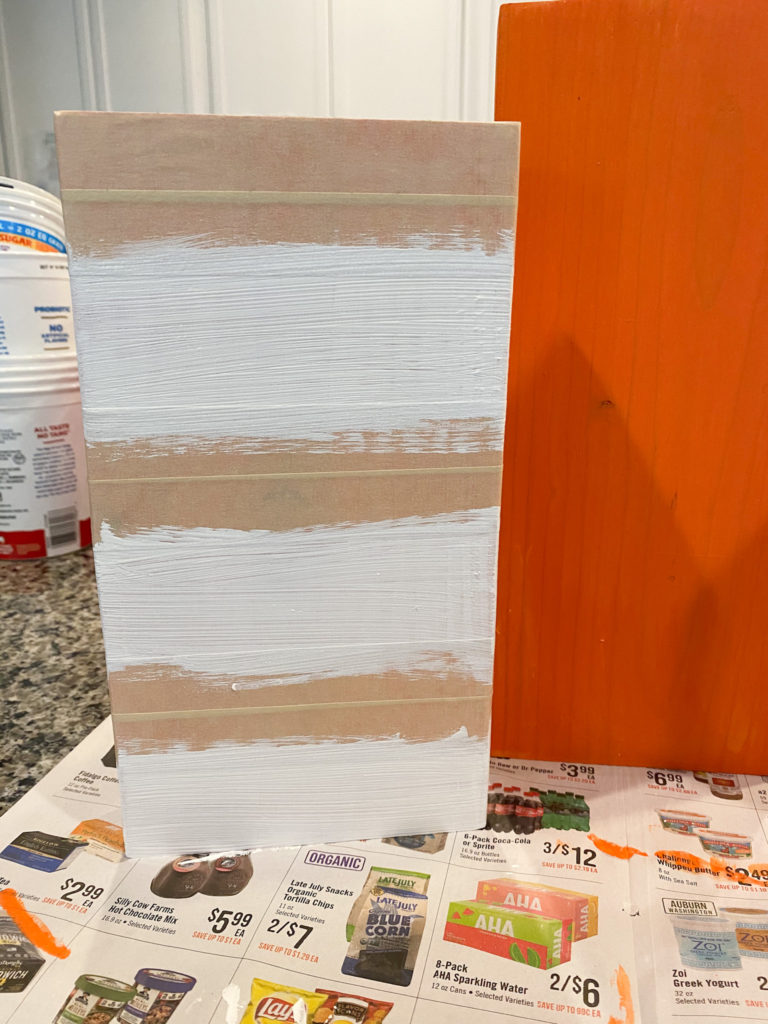
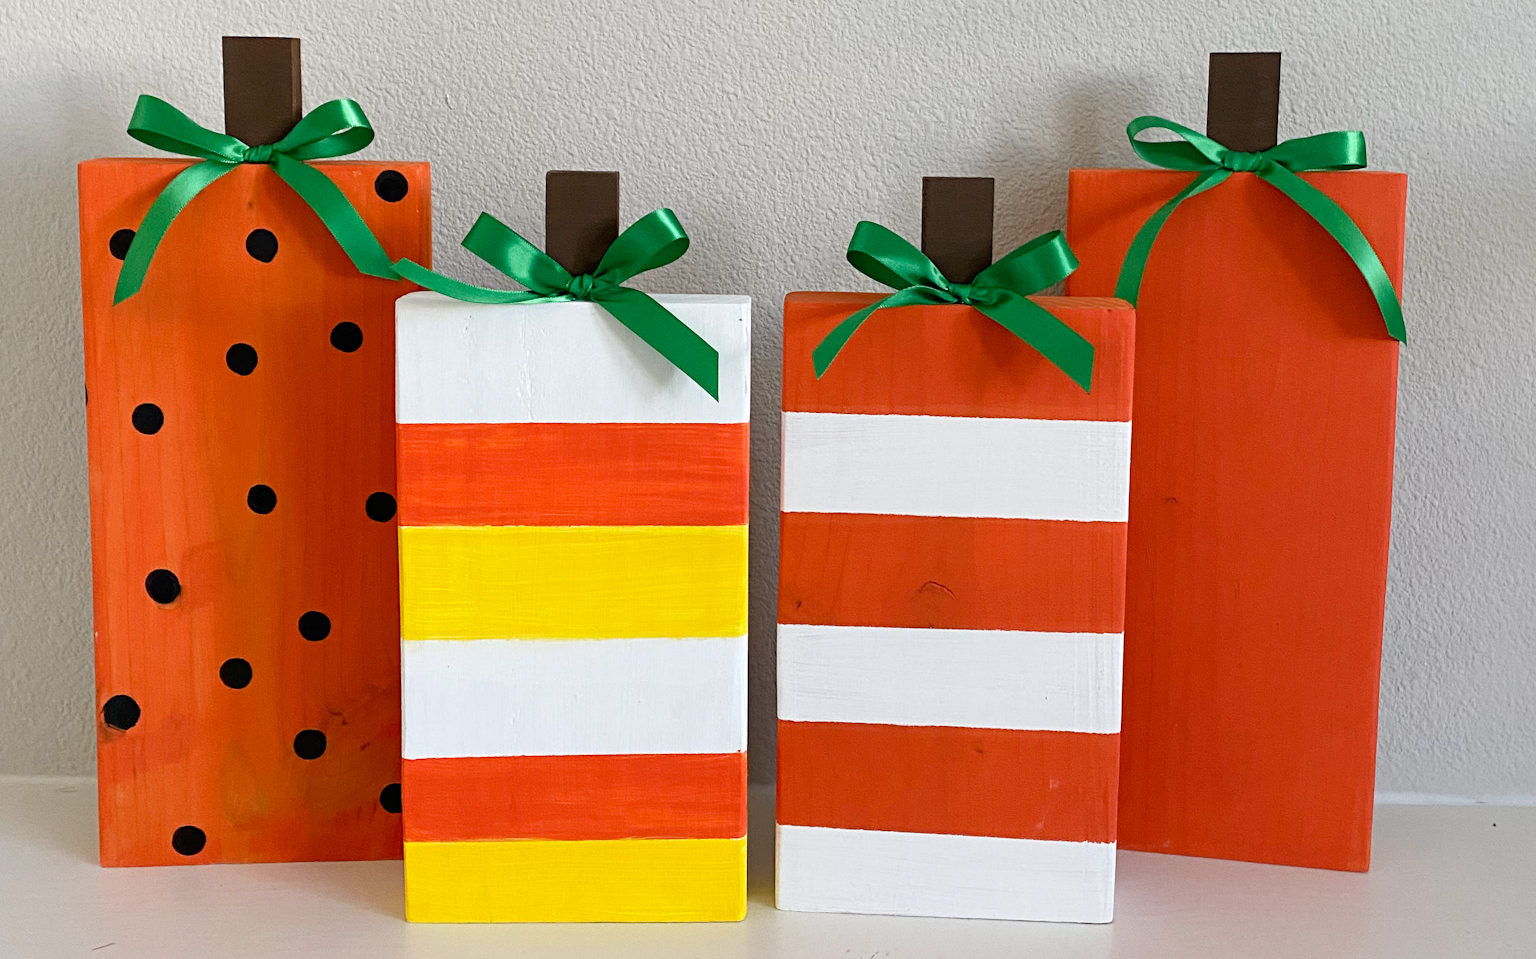
- For three of my wood blocks I used orange as my base color and for my 4th block, I used white as the base color. BLOCK#1 I painted it orange and didn’t add any decorations. BLOCK #2 I wanted to add white stripes, so I taped off the part that I wanted orange and painted the exposed part white. I did two coats and allowed it to dry for about 20 minutes. After the paint dried I took off the tape and got perfect stripes.
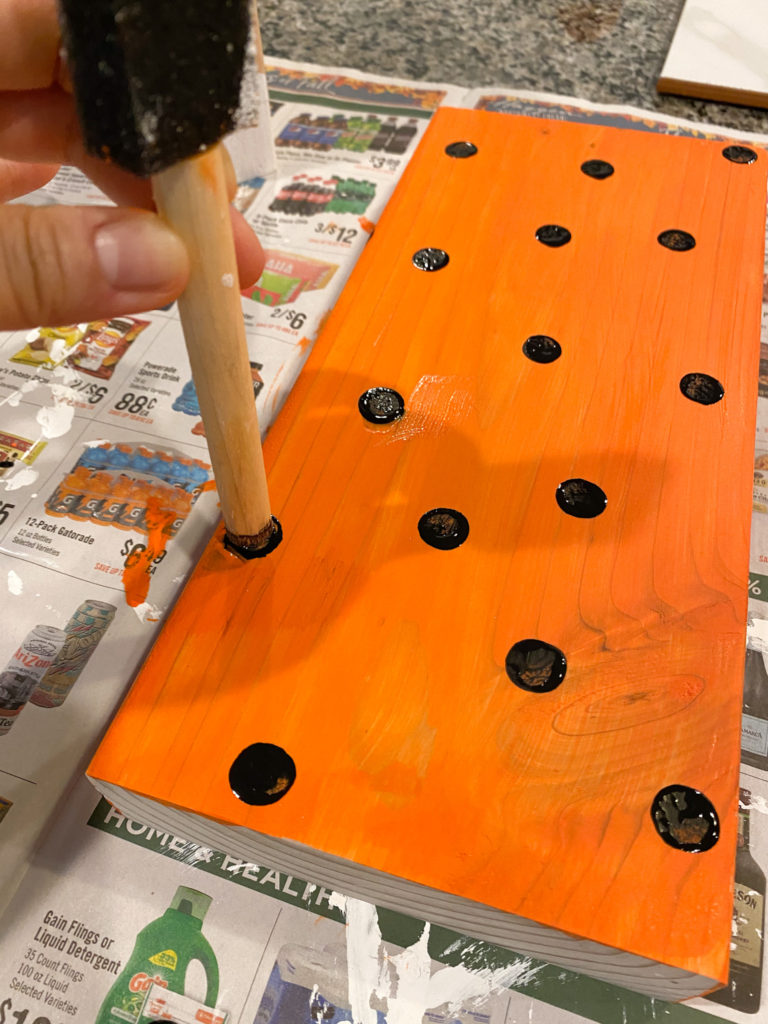
- BLOCK #3 I added black dots using the back of a sponge brush and it made the perfect circles.
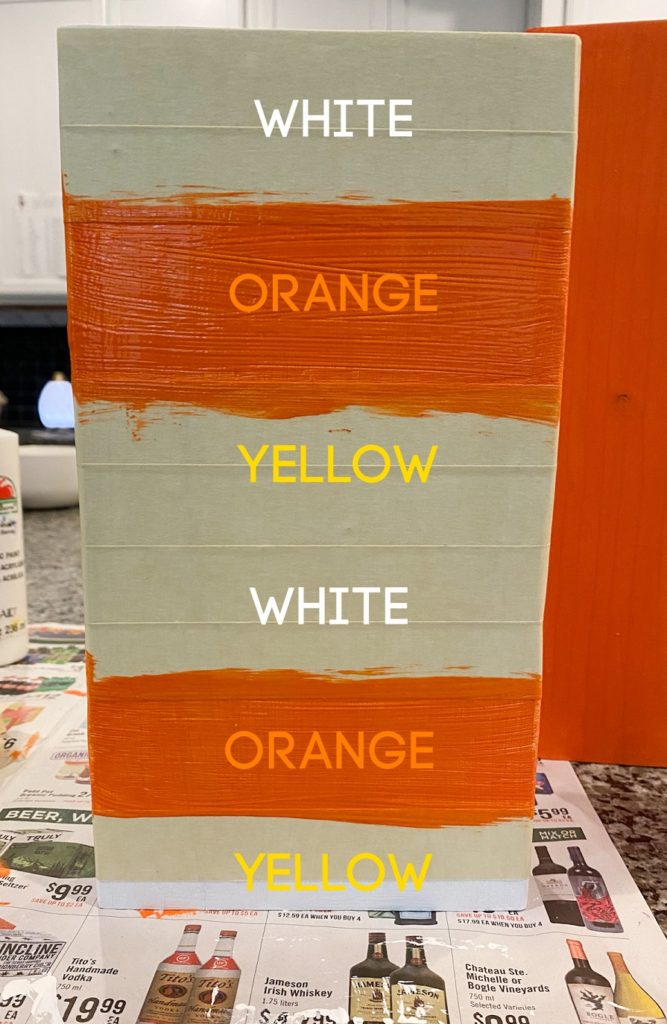
- For BLOCK #4 the base color is white. I added orange and yellow stripes to make candy corn. This one was a little tricky with the stripes. If you look at candy corn, the first color is white and then orange and yellow. So I taped off the top, left a section exposed, and then taped off two more sections for yellow and white, left another section expose, and then taped off the bottom for yellow (see photo below). Once the orange paint is dried take the tape off. Now, tape off the orange sections and take off the tape for the yellow sections, and paint those parts yellow.
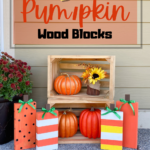
- Once all the woodblocks are dried, I found scraps of wood and painted them brown (the “pumpkin stems”), and attached it to the top of the block with wood glue. Then I used green ribbons and tied them into bows and attached them with a hot glue gun in front of the stems.
- Another great option for the ” pumpkin stems” are round dowels that can be found at hardware stores. These come in different sizes and are inexpensive.
No Comments